How to install truck bed repair panels is a common question among truck owners and DIY auto repair enthusiasts. Over time, even the toughest truck beds suffer from rust, dents, or damage due to heavy use, harsh weather, or lack of maintenance. Rather than replacing the entire truck bed, installing truck bed repair panels can save time, reduce costs, and extend the life of your vehicle. This comprehensive guide covers everything you need to know about selecting, preparing, and installing truck bed repair panels efficiently and correctly.
Truck Bed Repair Panels: What They Are and Why You Need Them
Truck bed repair panels are metal replacement sections specifically designed to restore damaged or rusted parts of a truck bed. Instead of replacing the entire bed, these panels allow you to cut out the damaged sections and weld in new ones.
Truck bed repair panels are ideal for addressing rust that typically forms around wheel wells, under the bed liner, or along the edges. When installed properly, these panels provide structural integrity and help restore the visual appeal of your truck.
Truck bed repair panels offer cost-effective repairs that DIYers and professionals alike can handle with the right tools and preparation. Additionally, they can prevent further corrosion and extend the lifespan of your vehicle.
Essential Tools and Materials
How to install truck bed repair panels starts with assembling the right tools. Having everything ready makes the process smoother and prevents delays.
Tools You’ll Need:
- Angle grinder
- Cut-off wheel
- Drill with spot weld cutter
- MIG welder
- Body hammer and dolly set
- Sandpaper or wire brush
- Rust inhibitor
- Safety gear (gloves, goggles, mask)
Materials Required:
- Replacement truck bed repair panels (OEM or aftermarket)
- Welding primer
- Automotive seam sealer
- Paint and primer
- Clamps or vice grips
How to install truck bed repair panels effectively depends on how well-prepared you are before cutting into your truck. Skipping this step leads to a rushed job and uneven results.
Choosing the Right Ones
Truck bed repair panels come in various shapes and sizes to fit different makes and models. Before purchasing, you need to know your truck’s year, make, and model. Ensure that the replacement panel matches the contour and dimensions of your original truck bed.
Truck bed repair panels are available as full panels or partial sections. If only a small area is damaged, you can save money and time by opting for a partial panel. On the other hand, full panels are more suitable for extensive rust damage or structural issues.
Truck bed repair panels should come from reputable manufacturers with good reviews. Cheap panels may not align properly, leading to more work during installation.
Step-by-Step Instructions
How to install truck bed repair panels properly requires careful attention to detail. Follow each step to ensure a clean, professional result.
Step 1: Assess the Damage
How to install truck bed repair panels begins by assessing the extent of damage. Mark the rusted or dented areas you plan to cut out. Tap lightly with a hammer to detect weakened metal areas that aren’t immediately visible.
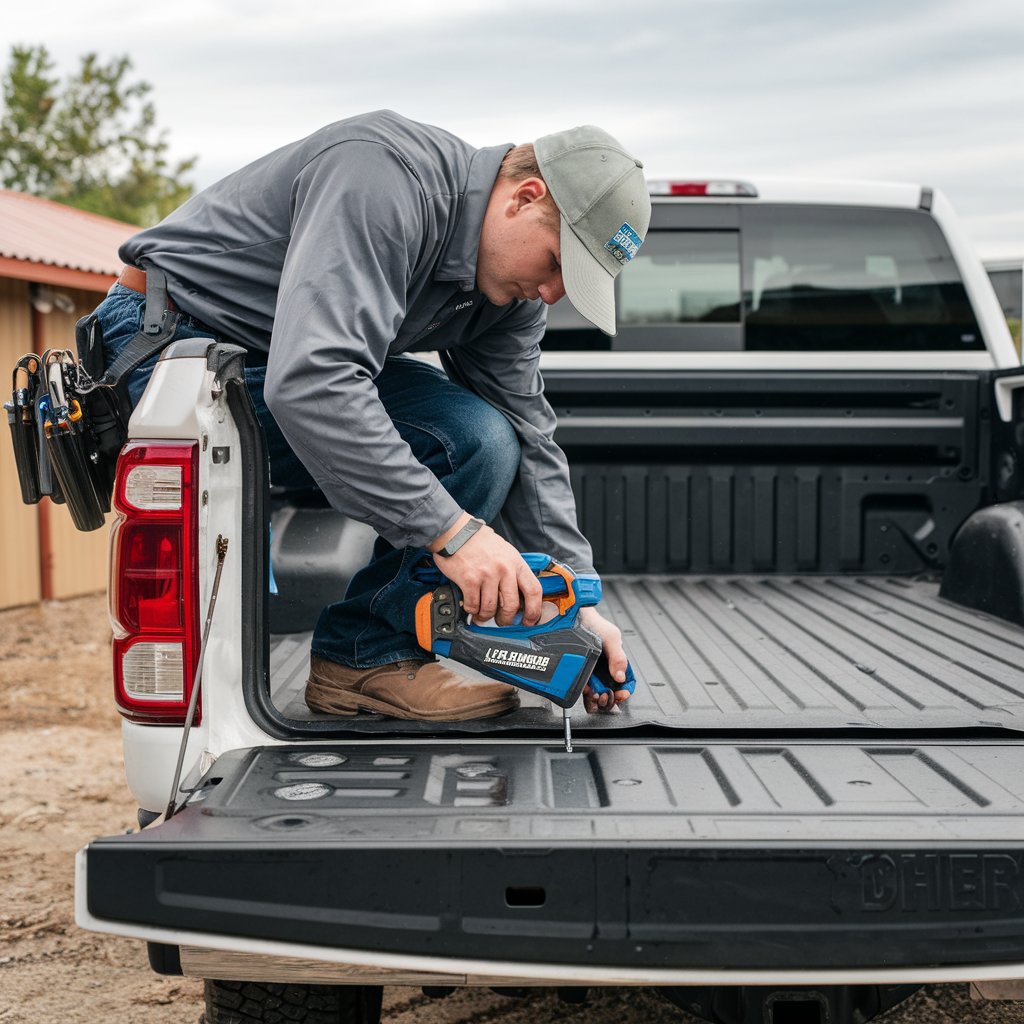
Step 2: Remove the Damaged Section
How to install truck bed repair panels requires cutting out the bad metal. Use an angle grinder with a cut-off wheel to carefully remove the damaged area. Keep the lines straight and avoid cutting too much, as you’ll need a solid frame to weld the new panel onto.
Step 3: Test Fit the New Panel
How to install truck bed repair panels involves checking the fit of the replacement panel before welding. Hold the panel in place using clamps and check for proper alignment. You may need to trim edges for a perfect fit.
Step 4: Prepare the Edges
How to install truck bed repair panels continues with prepping the edges. Grind down the edges of the remaining metal on your truck and the panel for clean welds. Apply welding primer to prevent rust from forming under the welds.
Step 5: Weld the Panel
How to install truck bed repair panels calls for precise welding. Start with tack welds to hold the panel in place, then continue with short welds along the seam to prevent warping. Allow each weld to cool before proceeding.
Step 6: Smooth the Welds
How to install truck bed repair panels includes grinding down the welds using an angle grinder. Smooth them until they’re flush with the surrounding metal. Be careful not to thin the weld too much, as it weakens the joint.
Step 7: Apply Seam Sealer
How to install truck bed repair panels finishes with sealing and painting. Use seam sealer over all welded joints to prevent moisture from seeping in. This is a critical step for long-term rust prevention.
Step 8: Prime and Paint
How to install truck bed repair panels ends with protecting the panel. Apply a quality primer and follow up with matching paint. Blend it with the rest of your truck for a seamless appearance.
Tips for a Successful Installation
Truck bed repair panels install more easily when you follow proven tips. For instance, always work in a well-ventilated space. Welding produces toxic fumes, so wear a respirator and ensure proper airflow.
Truck bed repair panels can shift during welding. Use several clamps and check alignment frequently to avoid uneven installation. Always weld in short bursts to avoid overheating and warping the metal.
Truck bed repair panels need solid prep work. Clean, grind, and prime all surfaces thoroughly before welding. Rushing through this step can compromise the final results.
Common Mistakes to Avoid
How to install truck bed repair panels can go wrong if you’re not careful. One of the most common mistakes is skipping test fitting. If the panel doesn’t align properly, the final fit will look uneven and may require rework.
How to install truck bed repair panels should never involve continuous welds. Long welds generate excessive heat, which causes metal to warp. Stick to short, evenly spaced welds instead.
How to install truck bed repair panels fails when old rust isn’t removed. Leaving rust behind only leads to faster corrosion. Always clean down to bare metal before installing the new panel.
Maintenance After Installation
Truck bed repair panels need protection to last. Regular washing, waxing, and inspecting the repaired area ensures longevity. Check for chips or cracks in the paint and reseal them to prevent rust from forming again.
Truck bed repair panels benefit from undercoating or bed liners. These additions protect the metal from moisture, road salt, and cargo impact. Consider applying a rubberized coating underneath the bed for extra durability.
Truck bed repair panels require care, especially in winter climates. Salt and moisture can speed up corrosion. Rinse the undercarriage and bed frequently during snowy months to maintain the repair.
Truck Bed Repair Panels: Cost Breakdown
How to install truck bed repair panels saves money over full replacement. Typically, panels cost between $50 and $300 depending on size and material. Welding equipment and paint supplies may add $100–$300 if you don’t already own them.
How to install truck bed repair panels professionally could run between $800 and $2000 depending on labor and body shop rates. DIY repair is far cheaper but requires time and some mechanical skill.
How to install truck bed repair panels also preserves your truck’s resale value. Maintaining structural integrity and appearance increases trade-in offers and buyer interest.
DIY vs Professional Installation
Truck bed repair panels can be installed at home by those with welding and mechanical experience. However, if you lack the right tools or skills, the results may not be as durable or visually appealing.
Truck bed repair panels installed by professionals often come with warranties and high-quality finishes. They use advanced welding and painting equipment, which can result in a cleaner look.
Truck bed repair panels make a great DIY project, especially if you’re restoring an older truck or want to learn bodywork. Just be sure to invest in proper tools and take your time with each step.
Conclusion
How to install truck bed repair panels is a rewarding process that restores both the function and appearance of your truck. With the right tools, materials, and patience, you can complete this repair yourself and save significantly on labor costs. Whether you’re fixing a work truck or restoring a classic pickup, truck bed repair panels offer a cost-effective solution to rust and damage.
By following the steps outlined in this guide, and avoiding common mistakes, you’ll achieve a long-lasting and professional result. So grab your gear, prep your workspace, and breathe new life into your truck bed today.